How to Install Floating House Numbers Like a Pro
Floating house numbers—also known as standoff or raised numbers—create a sleek, modern look by appearing to "hover" off your exterior wall. This mounting style adds depth, casts subtle shadows, and elevates your curb appeal instantly. The good news? Installation is straightforward and can be completed in under an hour with basic tools.
At Dropcap Studio, all of our modern house numbers are designed for easy floating installation, complete with high-quality standoff hardware included. Follow this step-by-step guide to achieve a professional finish that will last for years.
Tools and Materials You'll Need
- Floating house numbers with included standoffs, studs, anchors, and spacers (standard with Dropcap Studio orders)
- Pencil or marking pen
- Level (a small torpedo level works best)
- Tape measure
- Drill with masonry or wood bits (match the bit size to your included anchors)
- Hammer (for wall anchors)
- Screwdriver or drill driver
- Optional: Painter's tape for temporary positioning
Step 1: Plan Your Layout
Decide on placement—common spots include beside the front door, on siding near the entry, above the garage, or on a porch column. For best visibility:
- Position numbers at eye level or slightly above.
- Use at least 6-inch tall numbers for clear street visibility.
- Space numerals evenly (typically 1-2 inches apart) and center the full address.
Pro tip: Lay out your numbers on the ground or use painter's tape on the wall to preview spacing before marking.
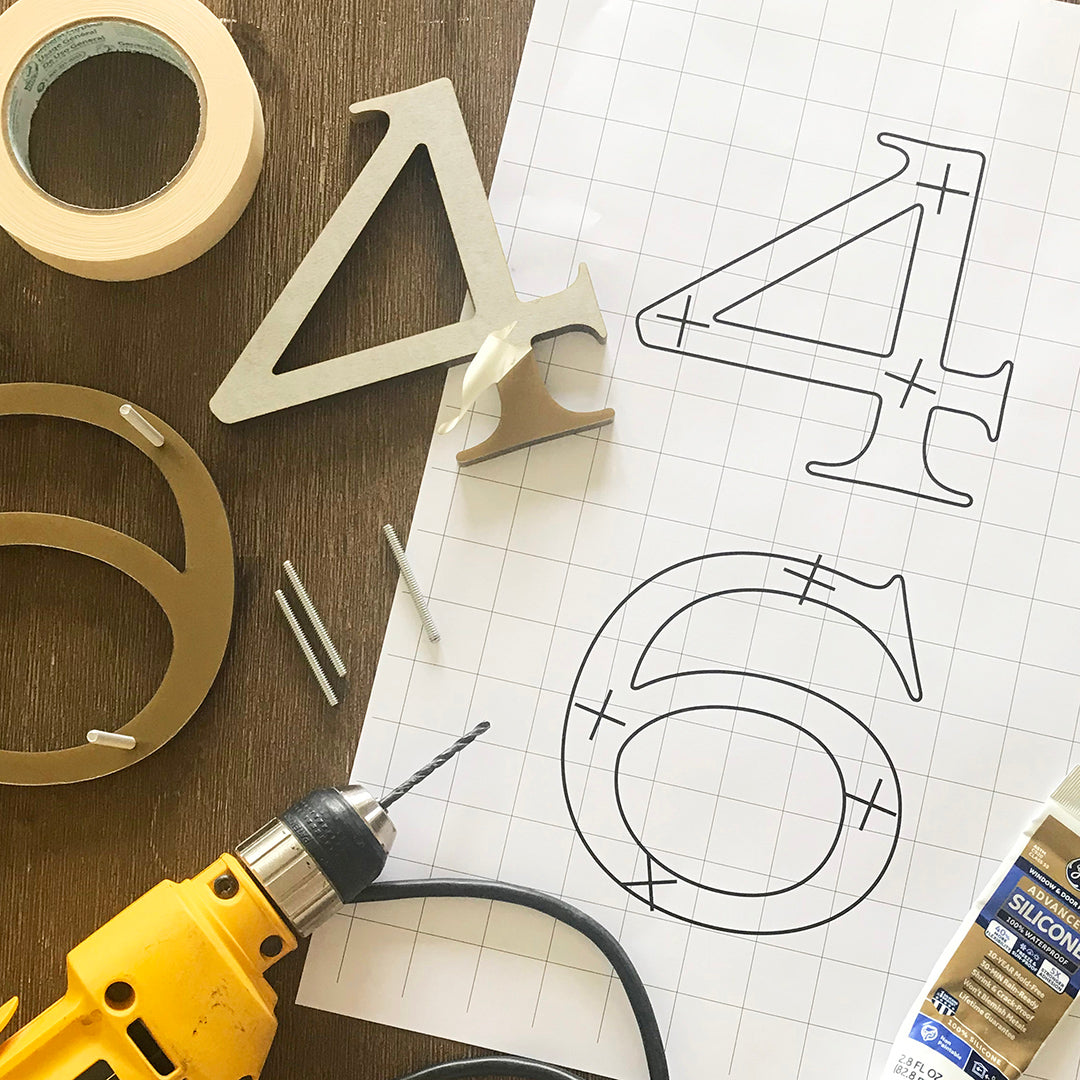
Step 2: Mark Your Drill Holes
Hold each number in position (or use the included paper template if provided) and mark the center of each standoff hole with a pencil.
Use a level to ensure your marks are perfectly straight—especially important for horizontal arrangements. Double-check measurements between numbers for consistent spacing.
Step 3: Drill Pilot Holes
Choose the correct drill bit:
- For brick, stone, stucco, or concrete: Use a masonry bit and hammer drill setting if available.
- For wood siding or fiber cement: Use a standard wood bit.
Drill to the depth recommended for your studs (usually about 1-1.5 inches). Clear dust from holes with a quick blow or brush.
Step 4: Add Silicone
Squeeze a bit of silicone into each drilled hole.
Step 5: Attach Standoffs to Numbers
Most floating numbers come with threaded studs that screw into the back of each digit.
Apply a small amount of included thread locker (if provided) to prevent loosening over time. Hand-tighten studs firmly but don't overtighten.
Step 6: Mount the Numbers
Align each number's standoff barrels with the wall anchors.
Screw the barrels onto the anchors by hand first, then tighten gently with a screwdriver or drill on low speed. The included spacers will automatically create the perfect floating depth (usually ½ to 1 inch).
Use your level one final time to confirm everything is straight.
Step 7: Final Checks and Cleanup
Step back and admire your work! Ensure all numbers are secure and level.
Wipe away any dust or fingerprints for a pristine finish.
Common Installation Tips for Best Results
- Install on a dry day—moisture can affect adhesion if using any sealants.
- For very textured surfaces (like stucco), longer standoffs may be needed—check product details.
- Avoid mounting directly into mortar joints on brick; drill into the brick itself for stronger hold.
- If replacing old numbers, patch previous holes with exterior filler for a clean look.
Get Professional Results with Dropcap Studio
Floating house numbers are one of the easiest ways to achieve a high-end, contemporary exterior. At Dropcap Studio, we include everything you need for flawless installation—premium hardware, clear instructions, and durable solid-metal numbers built to withstand the elements.
Ready to upgrade your address with modern floating style? Browse our full collection of easy-to-install house numbers at dropcapstudio.com. Your pro-level curb appeal upgrade starts here—no contractor required!
Share:
Spring Curb Appeal Refresh: Start with New Address Signs
Creative Ways to Display House Numbers on Brick Homes